STI Frame
Since I was able to finish the 1911 frame, I wanted to try another pistol frame. I knew I didn't want to have as many operations as what the 1911 had, so I had to find something easier. I had a guy come to me and suggest the STI. When he mentioned the STI I didn't have any idea what it was. After some looking I found out that it was almost exactly like the 1911 except it's a high capacity pistol frame. And best of all, the pistol grip is separate from the frame. I could machine this STI with the same basic operations as the 1911, but I wouldn't have to worry about how to machine the magazine well and the pistol grip, since I could just buy the pistol grip and slide it on the frame. I found out that the STI is a type of pistol that a lot of competition shooters use. So this makes it very customizable. The bad thing is, the STI pistols are VERY expensive. Since the STI isn't a very common pistol yet, there was of course no solid model files floating around. I got my hands on a STI frame, and started working on the solid model. It took a really long time to complete the model since I had to start from scratch. After completing the pistol model, I started thinking about how I was going to machine this new frame. A big problem that I ran into was figuring out a way to machine down inside the dust cover. On the 1911 frame I could just stand the frame up and use a long endmill to get down inside the dust cover. But since the STI was so much longer, I didn't want to end up using a SUPER long endmill. I figured out that if I machined the frame in two separate pieces, and weld them together later, this would allow me to work around the problem with having to use a super long endmill. After I modeled the frame in two separate pieces, I then started designing a really cool tactical rail under the dust cover. There are several different frames out there that have their own style of rail. But I wanted something common that almost anything would fit. The main thing I wanted to fit to the rail was the Aimpoint M6 Light/Laser. This light uses the picatinny type of rail, so this is the rail I went with. Once again, after I had the solid model finished I double and triple checked the work I done on the model so I could insure it was correct. After I thought I had a good model, I started the programming. This STI frame ended up being a much easier project over all. There wasn't near as many operations, and each operation was easier than the 1911. I first machined the main part of the frame, and then I machined the dust cover.
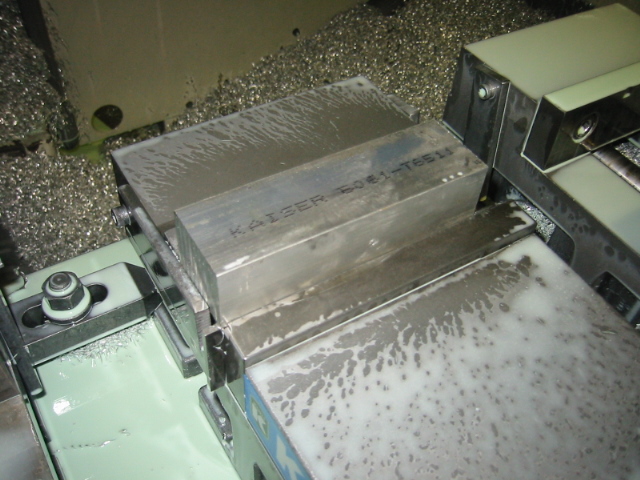
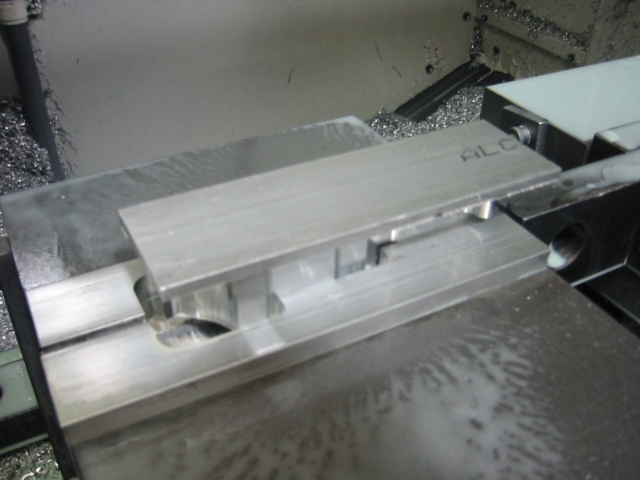
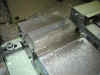
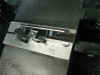
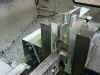
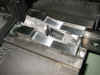
Here is what the block of aluminum looked like on the 1st operation...
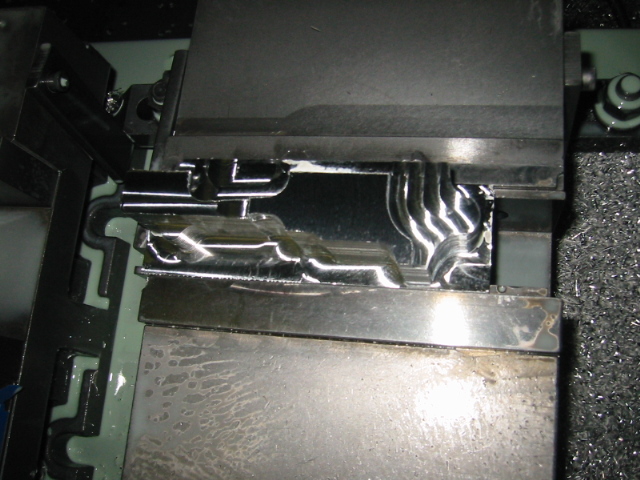
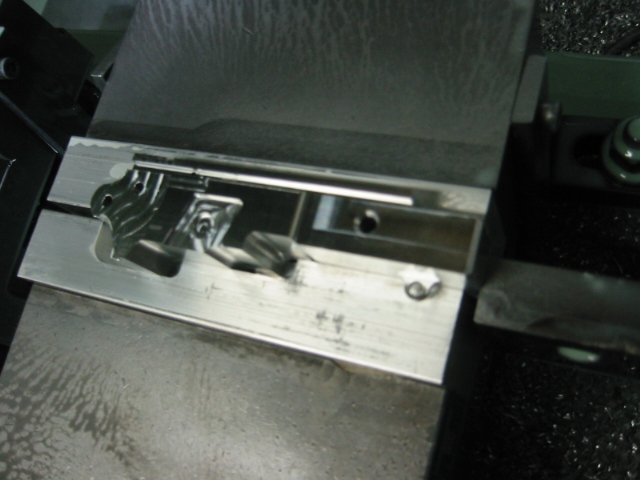
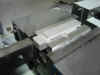
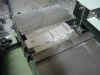
And here is a pic after the profile was roughed out...
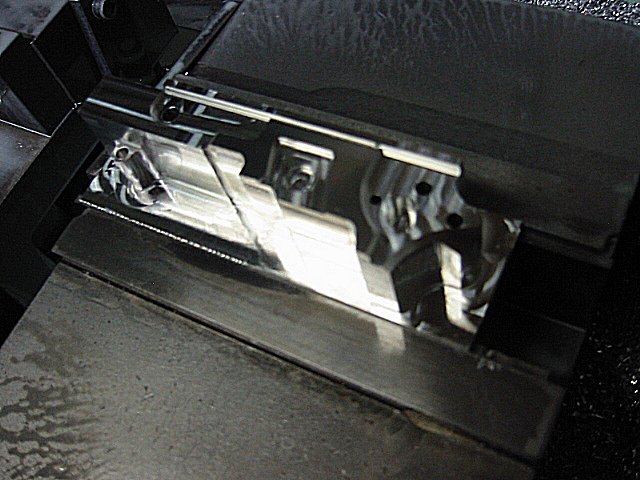
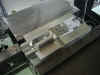
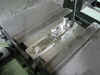
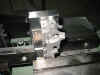
My camera was starting to crap out on me, so these pics aren't very good. I guess I must have gotten some coolant on the camera lens. This is a pic after the 1st operation was finished...
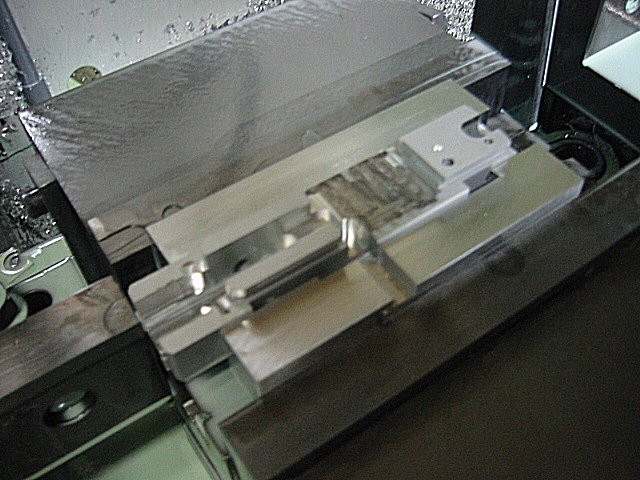
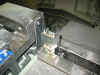
For the 2nd operation, I had to make a special set of jaws for the vice so I could hold the frame flat and square. Here is what the jaws looked like after they were installed...
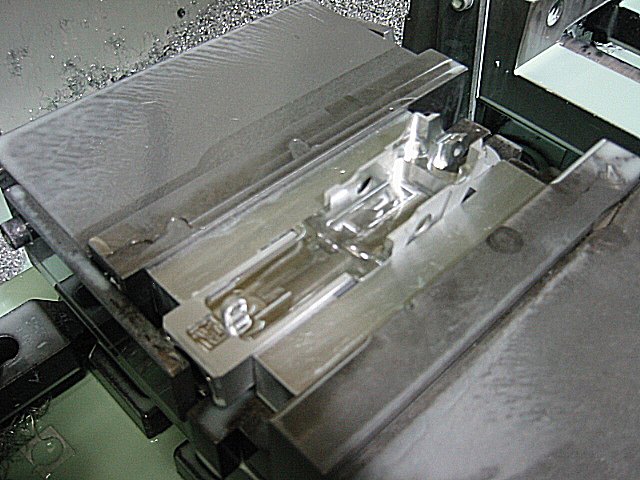
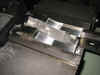
Here is what the frame looked like clamped into the vice...

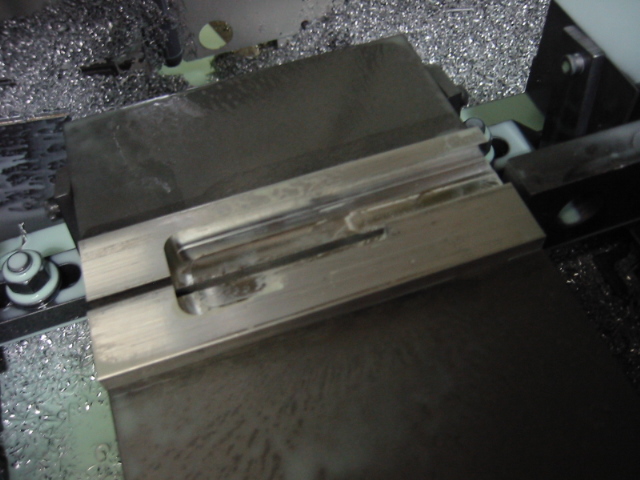
And here is the frame after the 2nd operation was finished...
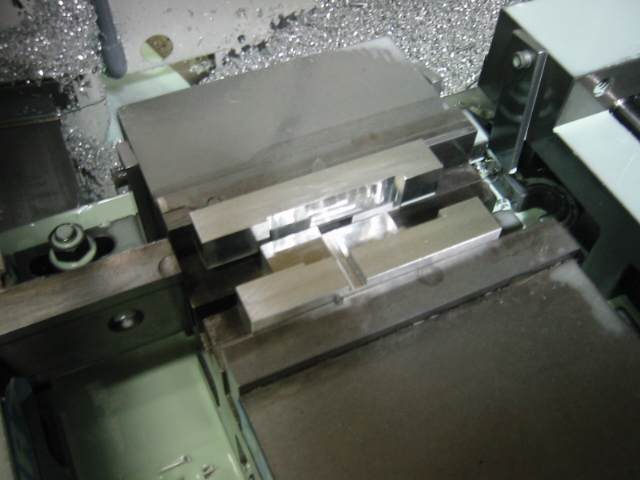
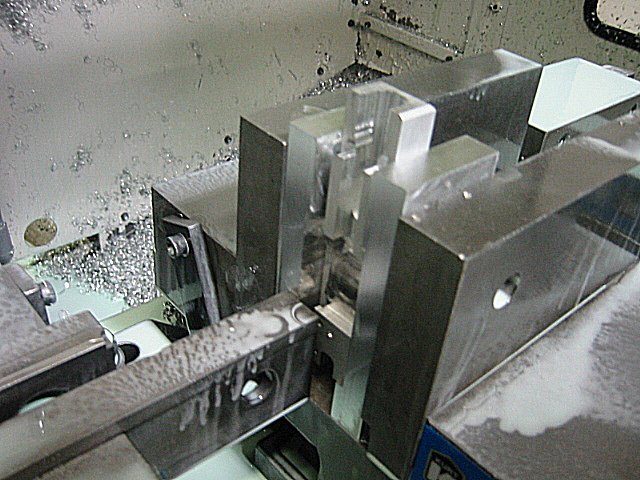
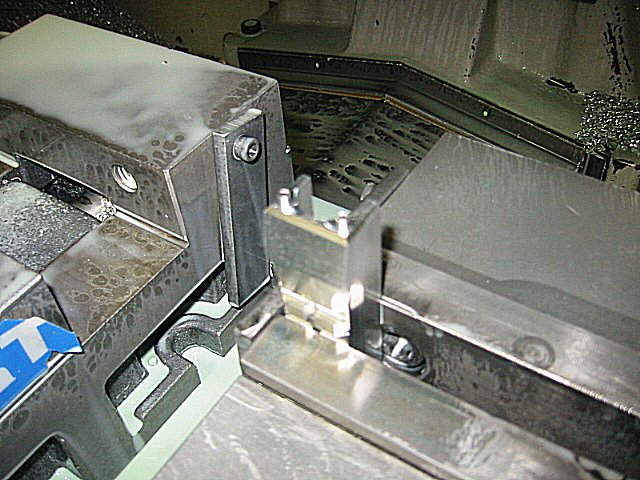
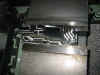
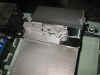
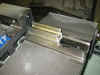
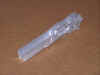
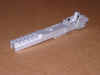
On the 3rd operation I also had to make some special fixturing to hold the frame. Here is what I had to make...

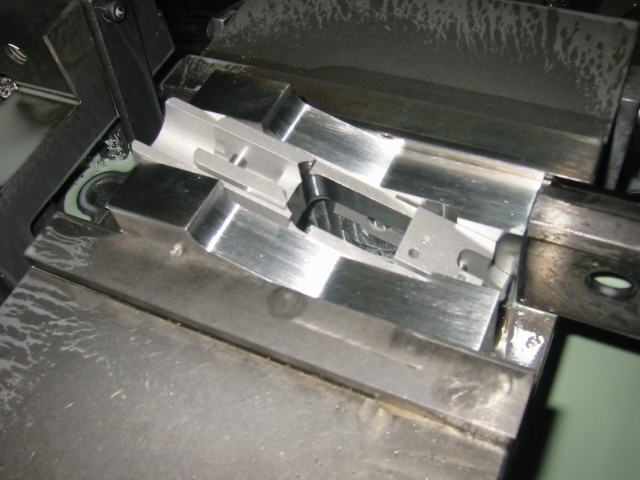
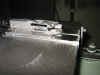
Here is the frame clamped into the vice ready to be machined...
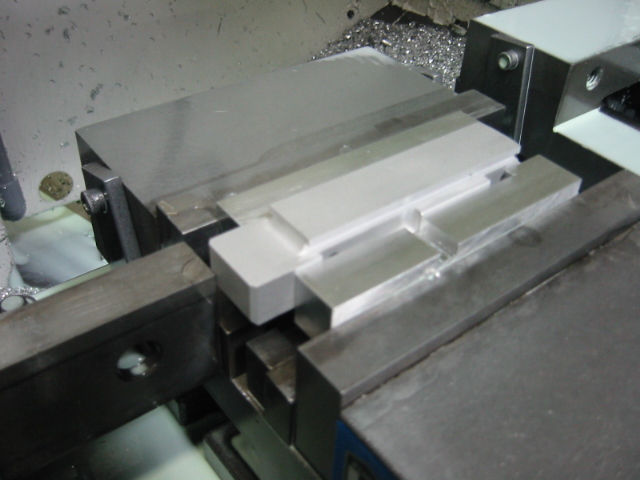
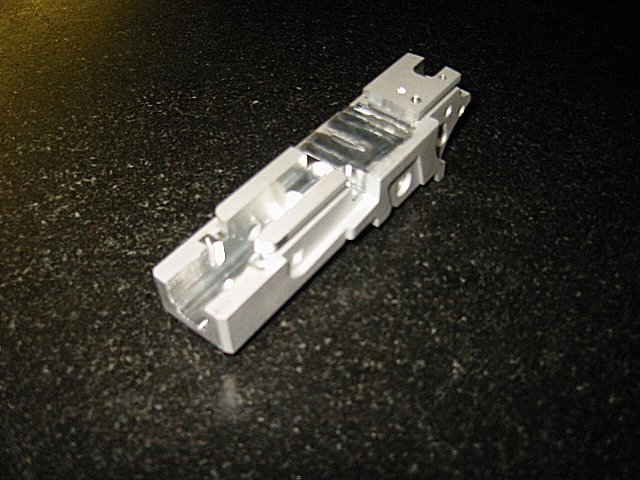
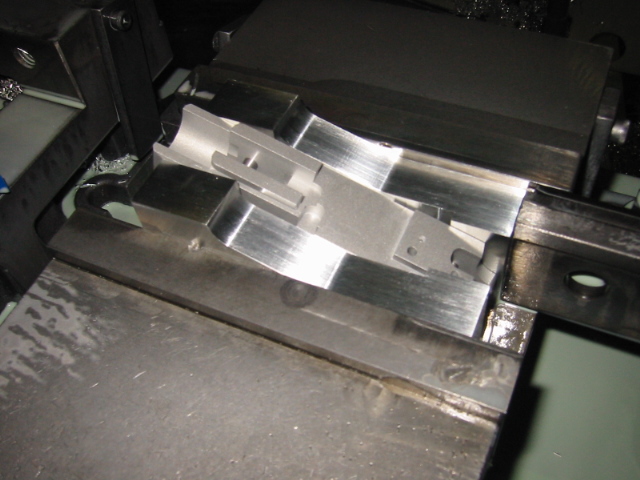
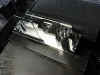
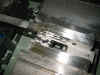
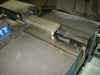
And here it is after all the machining was done on the 3rd operation...
Here's a little better pic...
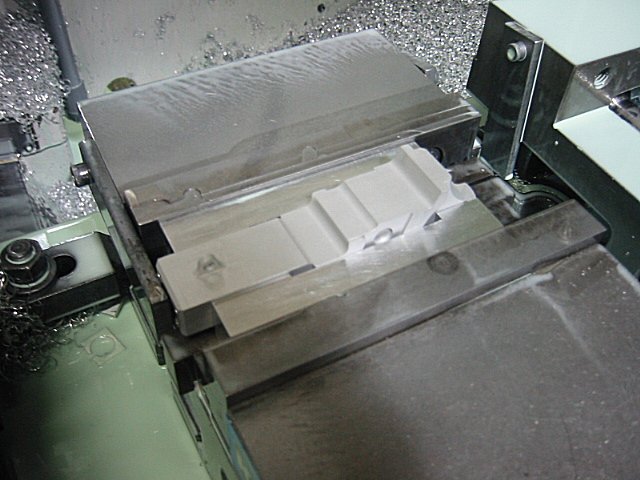
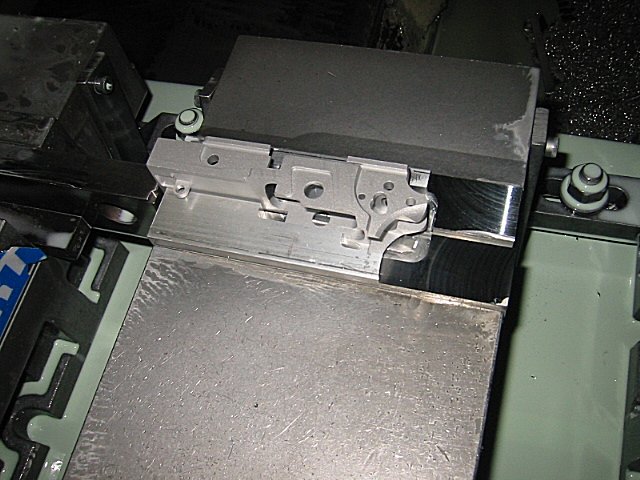
For the 4th operation I stood the frame up to machine the inside of the dust cover. Here is where my 2 piece design kicks in. Instead of having to machine way down inside the dust over, I only had to machine down about half the distance. Here is a pic of the setup...

And here is what the frame looked like after the dust cover area was machined...
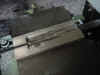
On the 5th operation, I machined the bottom of the frame. Here is what it looked like before the machining...
Here's the pic after the machining was finished on the 5th operation...
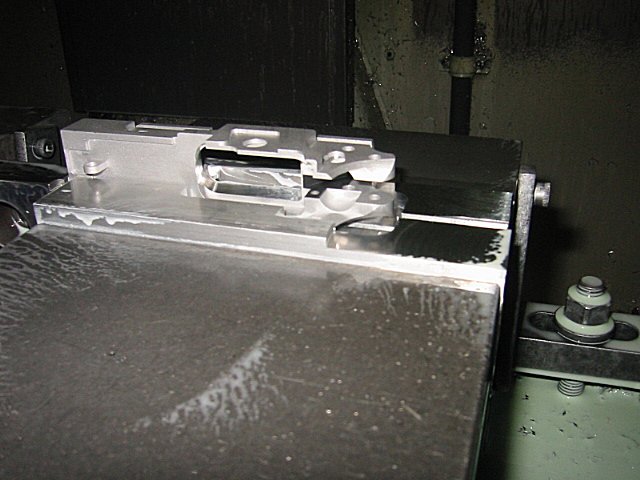
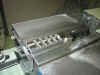
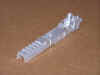
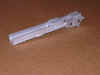
I had to make some more special fixtures for the 6th operation. This operation I would machine the magazine well...
And here is what it looked like after the 6th operation...
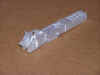
On the 7th operation I machined the 3" saw cut clearance underneath the hammer area and I also machined the undercut area under the thumb safety. I had to make another set of jaws to hold the frame for this operation as well. As you can probably tell, I'm starting make special fixtures for about every operation. If you want to see the pics of the tooling on this operation, you can refer to this operation of my 1911 project. Here is a pic of the setup...
You can kinda see the cuts I made in the hammer area in this pic...
For the 8th operation, I had to make another set of fixtures to hold the frame at the 6 degree angle for the disconnector hole on top of the frame. I machined this hole from the bottom, instead from the top like I did my 1911 project. Doing it from the bottom seemed to be a little easier...
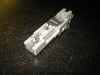
On the 9th operation, I drilled the hole for the plunger. I didn't drill this hole all the way through. The reason for this, was in order to reach the full depth that the drill needed to go, I would have to use a 6" long aircraft extension drill. And since this drill diameter is so small, and it's also very long, I was afraid that it would wobble too much in the CNC machine. So I finished drilling the hole using a cordless drill.
That was the last operation on the main part of the frame. Now I had to machine the dust cover. The dust cover was much easier to machine than the frame, since there were fewer operations. Here is what I machined on the 1st operation of the dust cover...
For the 2nd operation, I machined the bottom of the dust cover where the tactical rail is...
Here is what the dust cover looked like after the rail was machined...
On the 3rd operation, I machined around the bosses that would fit into the frame. The reason for these bosses was so it would be easier to align the dust cover to the frame when I went to weld them together. Come to find out this worked out perfectly. After the 2 pieces were welded, they matched up exactly. Here is what this operation looked like...
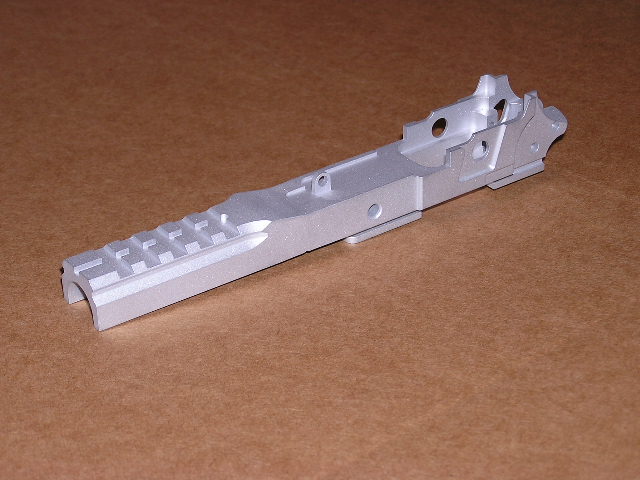
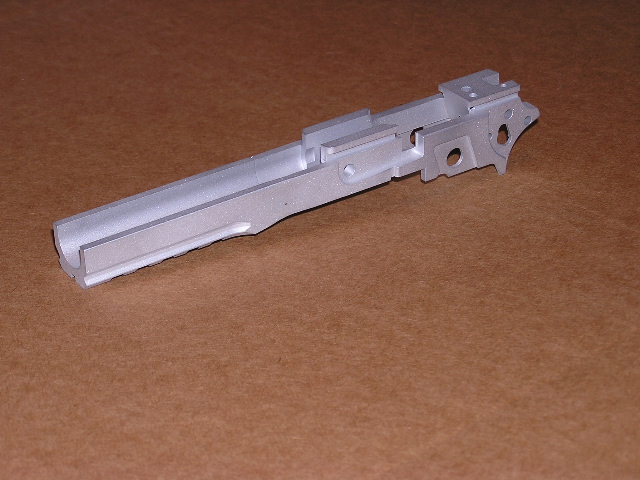
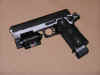
Now that all the machining was finished, I wanted to take some good pictures to show what all I had done. Here are a few pics of the dust cover fitted to the frame...
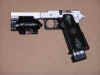

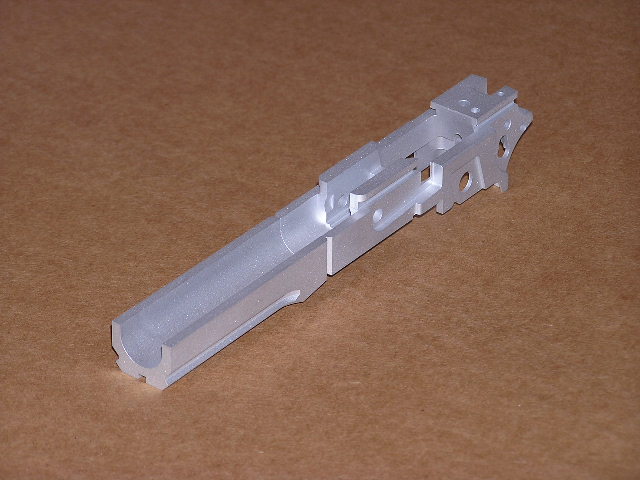
Now that I had the good pics taken, it was time to weld the frame together. Here is what the frame looked like after the 2 pieces were welded together and the weld was ground flat...
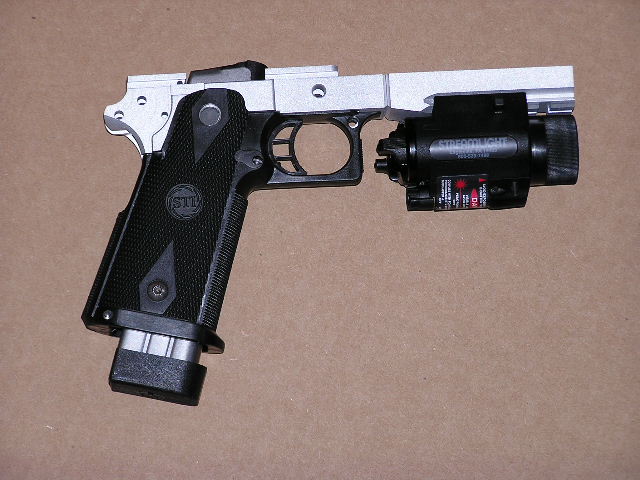
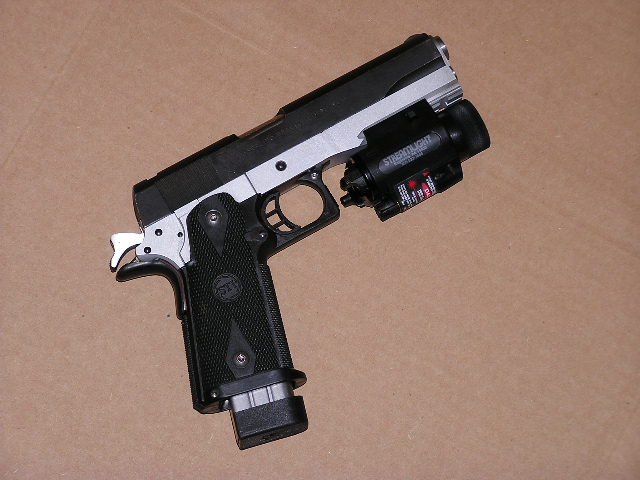
Since I wasn't sure if this frame would even work or not, I decided to buy some cheap parts to start off with to finish this frame. I got my hands on some cheap internal parts, and a cheap Sarco slide. This is probably the worst STI that any of you have ever seen. But at least this just goes to show that you can use cheap parts to complete an "expensive" STI. I'm going to refinish all the parts to give them a new look. I'll be uploading some more pictures once I get this pistol completely finished. I have taken this pistol out for her first shots, and I didn't have any problems. I was very happy after spending so much time on this project and it functioning correctly. Here is what the STI currently looks like...

This project was much easier than the 1911. I'm happy I done the STI, since I think it's a great looking pistol. I hope you have enjoyed this project, I know I sure did.