AR-15 A3 Upper Receiver
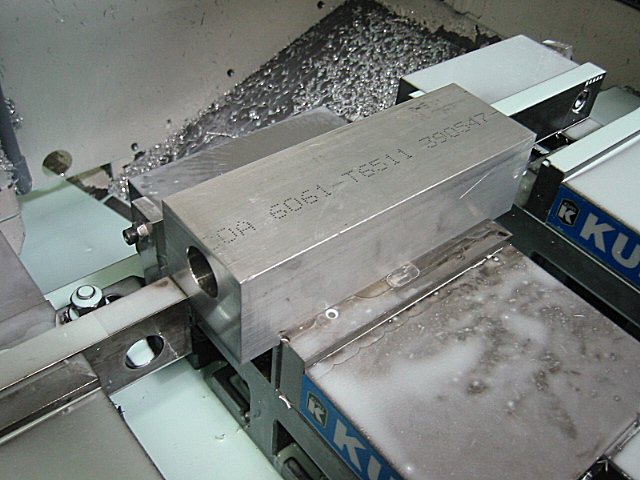
After I finished the A2 upper receiver, I thought I'd try the A3 upper receiver to see how much easier it was to machine. And come to find out it was much easier to machine since it didn't have the handle and it would be easier to hold in the vice. Machining the A3 upper is almost exactly like machining the A2 upper. So in case I leave out a step or a picture you can just look back on the A2 upper to get more details. I took the same first step and drilled the 1" hole through the receiver.
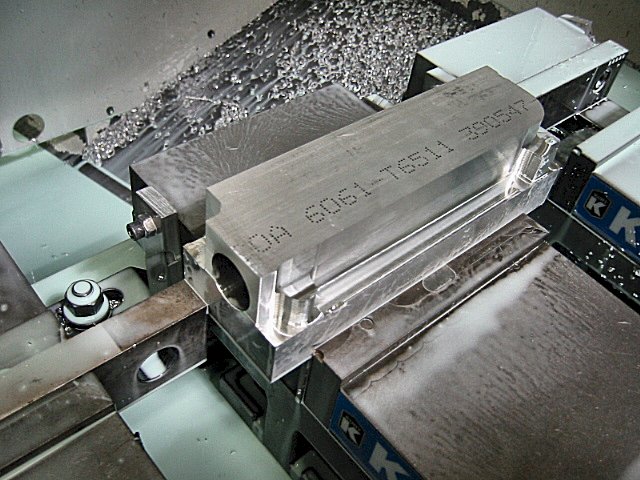
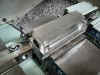
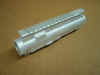
Here is what the block looked like after the hole was drilled. Notice all the chips, most of those came from that one hole...
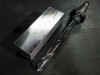
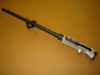
Here is a picture of the long 1" drill I used to drill through the block...
After the hole was drilled, it was time to start the 1st operation. Keep in mind that every operation is located off the 1" hole that I drilled in the block...

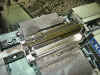
This pic is after the outside profile was roughed...
Here is a pic after the 1/2" carbide ball nose endmill roughed the profile...
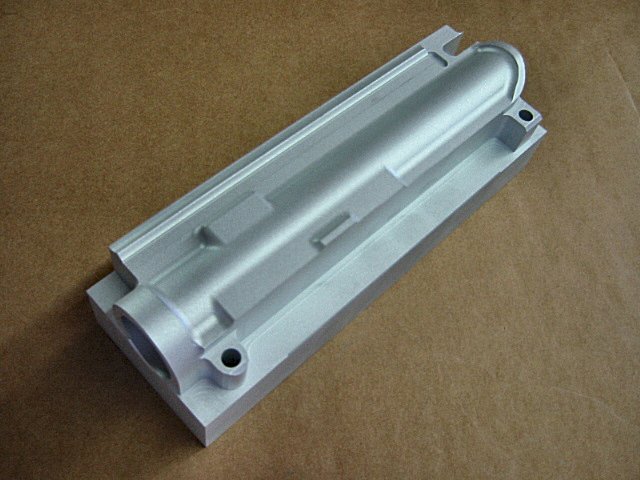
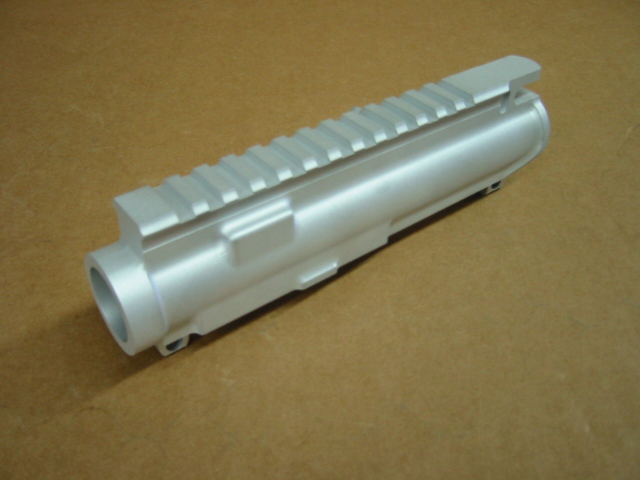
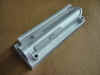
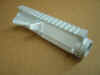
This is after the 1st operation was finished and the receiver was bead blasted...
Since the machining of the A3 upper is almost exactly the same as the A2 upper, I decided to cut some corners and not take as many pics. This is a pic after the 2nd and 3rd operations were finished...
Here's the other side...
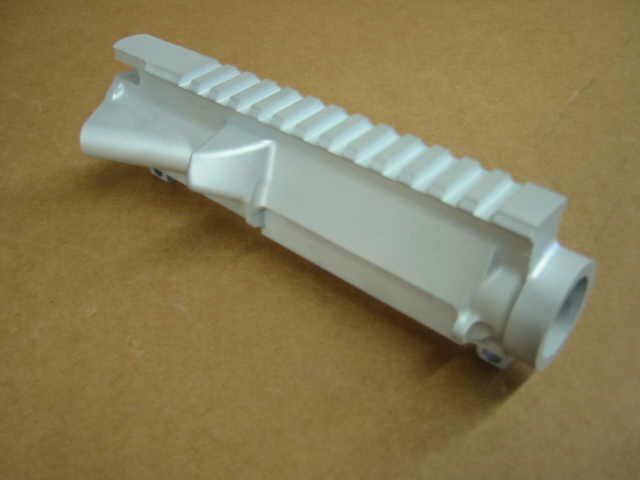
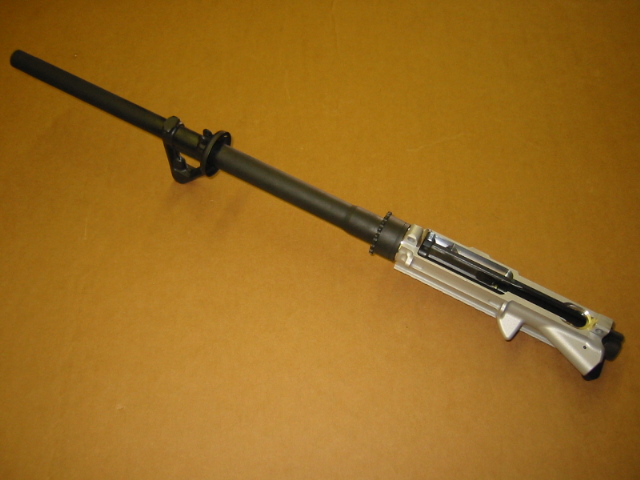
I cut the corner even more and ended up only taking a pic after the A3 upper was finished. Below is a pic after I installed the barrel to see how it would fit. If I would have known I would be making this website with pics of each operation, I would have taken more pics. But you can always just look back on the A2 upper receiver project to get the missing details about each operation...
The next project will be the detachable handle for the AR-15.